There are a wide range of choices for Easter decorations and they can cause people a lot of confusion. If you are also facing this problem, we will help you with it. Let us recommend you some of the best decoration recommendations and help you narrow down a perfect fit for you!
Most Common Easter Decoration Themes That Are Easy To Make
Several popular themes for decorations for Easter are commonly chosen by many people. Here are some of the most common ones when it comes to Easter decorations:
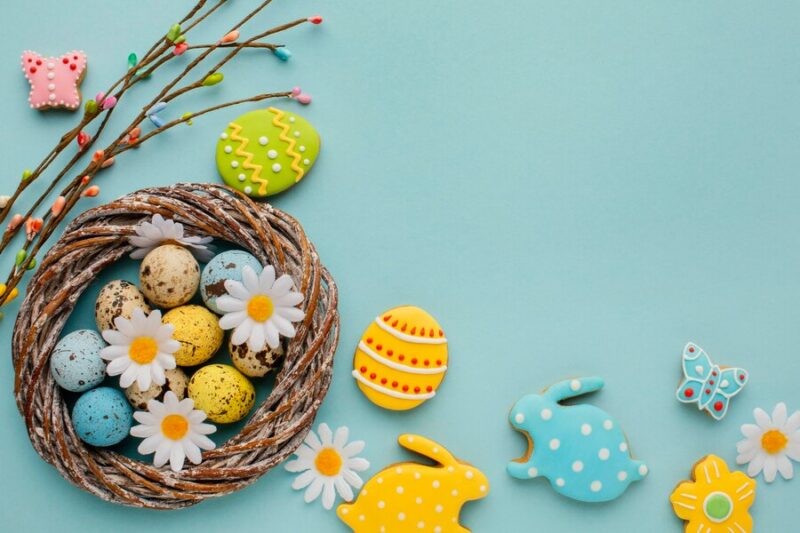
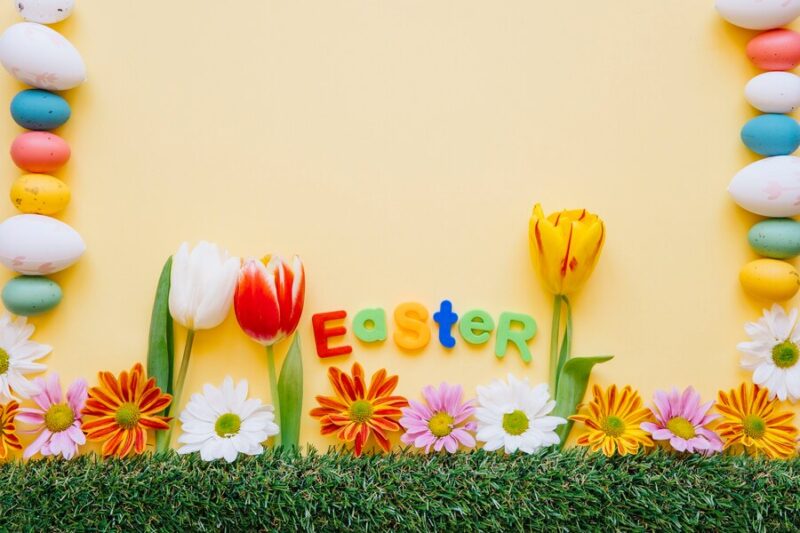
- Spring Garden: This theme focuses on bringing the freshness and beauty of springtime into the home. Decorations often include pastel-colored flowers, bunnies, chicks, butterflies, and other symbols of spring.
- Easter Bunny Wonderland: The Easter bunny is a beloved symbol of the holiday, and this theme revolves around it. Decorations feature bunny figurines, plush toys, and images of bunnies engaged in various activities like egg hunting or gardening.
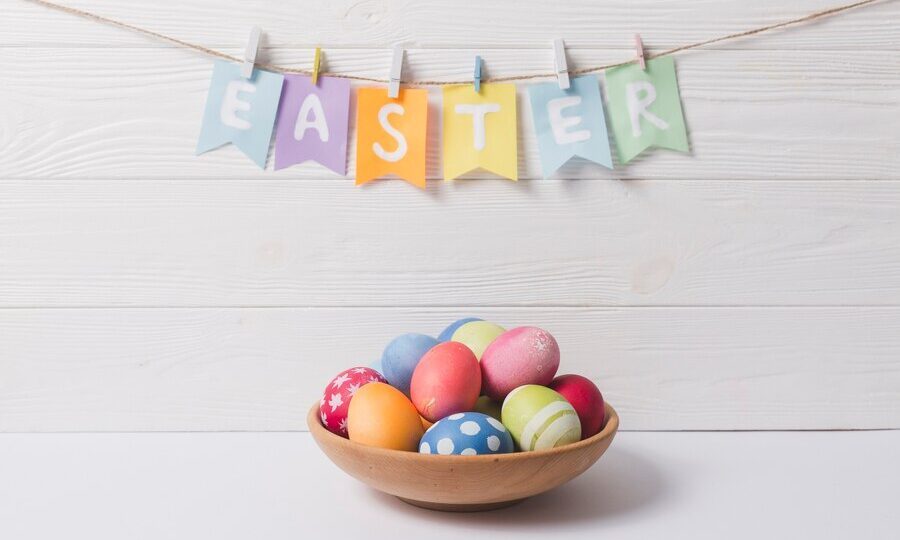
- Pastel Paradise: Soft pastel colors like pink, blue, yellow, and green dominate this theme. Easter decorations include pastel-colored eggs, ribbons, banners, and tableware, creating a delicate and charming atmosphere.
- Rustic Easter: This theme embraces a cozy and rustic aesthetic, often incorporating natural materials like burlap, twine, wood, and moss. Decorations may include burlap bunnies, wooden signs, grapevine wreaths, and mason jar centerpieces filled with wildflowers.
- Vintage Easter: Nostalgia reigns supreme in this theme, which draws inspiration from vintage Easter postcards, illustrations, and decor. Decorations feature retro-inspired designs, antique accents, and vintage-style Easter baskets, ornaments, and figurines.
- DIY Delights: For those who love to craft and create, this theme revolves around handmade Easter decorations and DIY projects. From painted eggs and homemade banners to personalized place settings and handmade wreaths, the possibilities are endless for adding a personal touch to your Easter decor.
For those also looking for other decorations for Easter related articles or want to find the best gift ideas for this Easter, you can take a look at these blogs:
- Decorating An Easter Table: Wow-Worthy Ideas To Take Note!
- Best 40+ Easter Egg Decorations from Traditional to Trendy 2024
- 20+ Easter Gift Ideas Tailored For Every Age Range
DIY Easter Decorations Ideas And Tutor On How To Do It Yourself
No matter what themes and styles you choose for your Easter decoration ideas, we recommend you do it yourself to bring out the result that will please you the most. Here we will provide you with a tutorial from our gift guide when it comes to at home Easter decorations:
Easter Egg Decorating Technique
Easter eggs are a must when it comes to Easter decorations on this holiday that everyone should come up with. One creative egg decorating technique for Easter is the “Marbled Easter Eggs” technique. This method creates beautifully marbled patterns on eggs using nail polish. Here’s a step-by-step tutorial on how to achieve this effect:
Materials Needed:
- Hard-boiled eggs
- Nail polish in various colors
- Disposable container or bowl
- Toothpicks or skewers
- Disposable gloves (optional)
- Paper towels
Instructions:
- Prepare your workspace for this egg decorating for Easter decorations by covering it with newspaper or a disposable tablecloth to protect the surface from nail polish spills.
- Fill a disposable container or bowl with room-temperature water. The container should be deep enough to fully submerge the eggs.
- Put on disposable gloves if desired to protect your hands from the nail polish.
- Shake each bottle of nail polish well to ensure the colors are thoroughly mixed.
- Open the first bottle of nail polish and quickly drip several drops of polish onto the surface of the water. You can either layer different colors or create a pattern with a single color.
- Immediately add drops of another color of nail polish on top of the first color. The nail polish will spread out and create a marbled effect.
- Use a toothpick or skewer to gently swirl the colors together to create your desired pattern. Be careful not to overmix, as this can muddy the colors.
- Once you’re happy with the pattern, quickly dip a hard-boiled egg into the water, submerging it completely. Hold the egg under the surface for a few seconds to allow the nail polish to adhere to the eggshell.
- Carefully lift the egg out of the water using the toothpick or skewer, allowing any excess nail polish to drip off.
- Place the egg on a paper towel to dry completely. Repeat the process with additional eggs, using fresh nail polish drops for each egg.
- Once the eggs are dry, you can display them in a basket or use them as festive decorations for your Easter celebration!
Happy Easter Bunny Craft
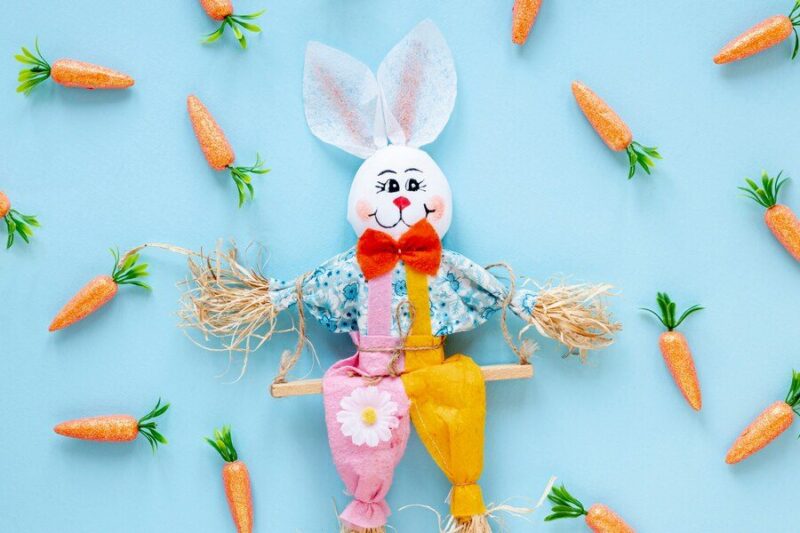
Bunny is one of the most common symbols when it comes to Easter holidays. Don’t forget to fill your hơm with some bunny-related decorations to make it feel Easter. Easter Bunny Pom Pom Tail Garland is a fun and cute craft that will add a festive touch to your DIY Easter decorations. Here’s how to make it:
Materials Needed:
- White yarn
- Pink felt or pom poms
- Scissors
- Hot glue gun and glue sticks
- Twine or ribbon
- Marker (optional)
Instructions:
- Make Pom Poms: Start by making several small pom poms using white yarn. You can use a pom pom maker or make them by hand. Wrap the yarn around three fingers (or a cardboard template) multiple times until you achieve the desired thickness. Carefully slide the yarn bundle off your fingers (or template) and tie a piece of yarn tightly around the center of the bundle. Use scissors to cut through the loops on each side of the tied yarn. Fluff and trim the pom pom until it’s round and even. Repeat this process to make as many pom poms as you need for your garland.
- Add Bunny Tails: Once you have your pom poms ready, it’s time to turn them into bunny tails! Cut small oval shapes out of pink felt or use pink pom poms as bunny tails. If using felt, you can draw oval shapes as a guide for cutting. Alternatively, you can cut small circles from the felt and then shape them into ovals with your scissors. If using pink pom poms, simply attach them to the center of each white pom pom using hot glue.
- Assemble the Garland: Cut a length of twine or ribbon to your desired length for the garland. Lay it out flat on your work surface. Arrange the bunny tails evenly along the length of the twine, leaving enough space between each one for hanging. Once you’re happy with the placement of the bunny tails, use a hot glue gun to attach them securely to the twine. Press down gently to ensure they adhere properly.
- Hang and Enjoy: Once the glue has dried completely, your Easter Bunny Pom Pom Tail Garland is ready to hang! You can display it across a mantel, along a wall, or above a doorway to add a whimsical touch to your Easter decorations.
Spring Flower Arrangement For The Easter Table Setting
Flower is a must for every decoration. For the Easter holiday, the best choice will be a flower arrangement with spring flower themes. The spring floral centerpiece will be the perfect addition to your Easter celebrations, bringing the beauty of the season indoors for everyone to enjoy! Here’s a tutorial on how to make it:
Materials Needed:
- Assorted spring flowers (such as tulips, daffodils, hyacinths, and roses)
- Floral foam or floral frog
- Low, shallow container or vase
- Floral shears or scissors
- Greenery (such as eucalyptus, ferns, or ivy)
- Floral tape (optional)
- Ribbon or decorative accents (optional)
Instructions:
- Prepare the Container: Start by preparing your container or vase for this idea of Easter decorations. If using floral foam, soak it in water according to the manufacturer’s instructions until it’s fully saturated. If using a floral frog, place it in the bottom of the container.
- Trim the Flowers: Trim the stems of your spring flowers at an angle using floral shears or scissors. Remove any excess leaves from the stems that would be submerged in water to prevent them from decaying.
- Create the Base: If using floral foam, insert it into the container, making sure it fits snugly. If necessary, use floral tape to secure the foam in place. If using a floral frog, make sure it’s securely positioned at the bottom of the container.
- Arrange the Greenery: Begin by arranging the greenery in the container to create a base for your floral arrangement. Start with larger pieces of greenery at the base and work your way up with smaller pieces. Allow the greenery to cascade over the edges of the container for a natural, organic look.
- Add the Flowers: Once you’re happy with the greenery, start adding the spring flowers to the arrangement. Begin with the larger flowers, such as tulips or roses, and place them evenly throughout the arrangement. Fill in any gaps with smaller flowers like daffodils or hyacinths.
- Create Balance and Symmetry: As you add flowers, step back occasionally to assess the arrangement and ensure it has balance and symmetry. Aim for a mix of colors, shapes, and sizes to create visual interest.
- Adjust as Needed: Don’t be afraid to rearrange the flowers as needed to achieve the desired look. You can trim stems or add more flowers to fill out the arrangement and create a lush, full look.
- Add Finishing Touches: Once you’re satisfied with the arrangement, add any finishing touches such as ribbon or decorative accents to complement the flowers. You can tie a bow around the container or tuck small ornaments or eggs into the arrangement for an Easter-themed touch to your Easter decorations.
- Display and Enjoy: Place your Spring Floral Centerpiece on your Easter table or anywhere else you’d like to add a touch of springtime beauty. Make sure to keep the floral foam hydrated by adding water to the container as needed.
Easter Table Centerpiece
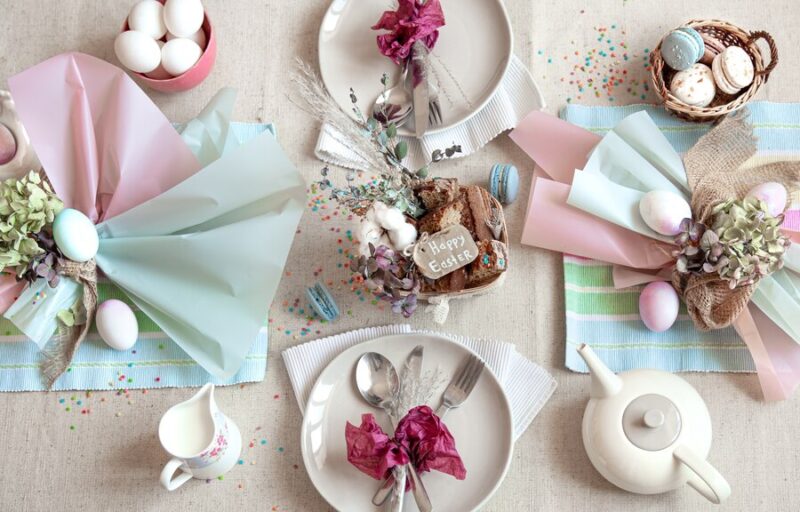
As for the table centerpiece, we recommend the Easter egg nest centerpiece. This centerpiece incorporates elements of spring and Easter, and it’s relatively easy to make. Here’s how:
Materials Needed:
- Large shallow bowl or basket
- Faux grass or Easter grass
- Plastic Easter eggs (various sizes and colors)
- Decorative bird’s nest
- Faux flowers or greenery (optional)
- Ribbon or decorative accents (optional)
- Hot glue gun and glue sticks
Instructions:
- Prepare the Base: Start by filling the large shallow bowl or basket with faux grass or Easter grass. Spread it out evenly to create a nest-like base for your centerpiece for Easter decorations.
- Arrange the Eggs: Place plastic Easter eggs of various sizes and colors on top of the grass. You can scatter them randomly or arrange them in clusters, alternating colors and sizes for visual interest.
- Create the Nest: Nestle a decorative bird’s nest in the center of the arrangement. You can place it directly on top of the grass or slightly off-center for a more organic look. Make sure the nest is secure and won’t tip over.
- Add Greenery and Flowers: If desired, tuck faux flowers or greenery into the arrangement to add a pop of color and texture. You can use spring blooms like tulips, daffodils, or hydrangeas to complement the Easter theme.
- Embellish with Ribbon: To add extra flair to your centerpiece, tie a ribbon around the edge of the bowl or basket. Choose a ribbon in a coordinating color or pattern to complement the Easter eggs and other decorations.
- Secure Decorations: Use a hot glue gun to secure any loose decorations in place, such as the bird’s nest or flowers. This will ensure that everything stays in position and looks neat.
- Final Touches: Step back and assess your centerpiece, making any final adjustments as needed. Add additional Easter eggs, greenery, or ribbon to fill out the arrangement and create a balanced look.
- Display and Enjoy: Once you’re happy with the arrangement, place your Easter Egg Nest Centerpiece on your table or mantel as a festive focal point. You can also add additional at home Easter decorations around the centerpiece to complete the look.
Easter Door and Wall Decoration
For your door or wall, an Easter egg wreath is a festive and colorful addition to welcoming guests and spreading Easter cheer throughout your home! It’s a festive and colorful decoration that’s easy to make. Here’s how:
Materials Needed:
- Styrofoam wreath form
- Plastic Easter eggs (various sizes and colors)
- Hot glue gun and glue sticks
- Ribbon or twine for hanging
- Decorative accents (such as faux flowers, greenery, ribbon bows, or embellishments)
Instructions:
- Prepare the Wreath Form: For this idea of diy Easter decorations, start by securing one end of the ribbon or twine to the wreath form using hot glue. This will serve as the hanger for your wreath.
- Arrange the Easter Eggs: Begin arranging the plastic Easter eggs around the wreath form. You can either glue them directly onto the wreath or use toothpicks to attach them if you want to be able to remove and rearrange them later.
- Create a Pattern: Alternate colors and sizes of Easter eggs to create a visually appealing pattern. You can also cluster eggs of similar colors together or arrange them in a random pattern for a more whimsical look.
- Fill in the Gaps: Once you’ve covered the entire wreath form with Easter eggs, go back and fill in any gaps with smaller eggs or decorative accents like faux flowers or greenery. This will add depth and texture to your wreath.
- Add Decorative Accents: Embellish your Easter egg wreath with additional decorative accents like ribbon bows, ribbon tails, or embellishments like glitter or sequins. You can also hot glue faux flowers or greenery to the wreath for a touch of springtime charm.
- Secure the Hanger: Once you’re happy with the arrangement, make sure the hanger is securely attached to the wreath form. Add a dab of hot glue to reinforce the attachment if necessary.
- Hang and Display: Your Easter Egg Wreath is now ready to hang! Use the ribbon or twine hanger to hang it on your door or wall, making sure it’s securely in place. Step back and admire your beautiful idea for Easter decorations!
5 Tips For Best Decorations For Easter When Make It Yourself

If you decide to do the Easter decorations by yourself, there are some tips to consider and follow to bring out the best results. Here are 5 tips that we suggest for you:
- Plan Ahead: Before you start crafting, take some time to plan out your Easter decoration ideas. Think about the theme you want to create, the colors you’ll use, and the materials you’ll need. Sketch out your ideas or create a mood board to help visualize the final look. Planning ahead will ensure that you have everything you need and help you avoid any last-minute stress.
- Incorporate Natural Elements: Embrace the beauty of spring by incorporating natural elements into your decorations. Use fresh flowers, branches, or greenery from your garden to add a touch of freshness and vitality to your Easter decor. You can also use natural materials like twigs, moss, or feathers to add texture and depth to your creations.
- Personalize Your Decor: Add a personal touch to your Easter decorations by incorporating elements that reflect your personality or interests. Whether it’s adding monograms, family photos, or handmade embellishments, infusing your decorations with personal touches will make them truly unique and special. Consider crafting decorations that involve your family or friends for a fun and memorable experience.
- Mix and Match Materials: Get creative with your materials by mixing and matching different textures, colors, and patterns. Combine traditional Easter elements like eggs and bunnies with unexpected materials like fabric scraps, paper, or recycled items. Experiment with different combinations to create visually interesting and dynamic decorations that stand out.
- Focus on Quality and Craftsmanship: Take your time and pay attention to detail when crafting your Easter decorations. Use high-quality materials and craftsmanship to ensure that your creations look polished and professional. Invest in tools and supplies that will help you achieve the desired results, and don’t be afraid to refine your designs as you go. Quality craftsmanship will elevate your DIY Easter decorations and make them truly impressive.
By following these tips, you’ll be able to create beautiful and memorable Easter decorations that will impress your guests and add a festive touch to your home!